


There’s no reason to get all tied up scanning a shoe. Well, at least not with the help of this handy guide explaining how to 3D scan a shoe with a Revopoint 3D scanner.
So let’s get into it.
What do You Need?
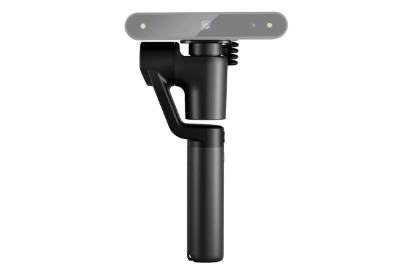
Scanner
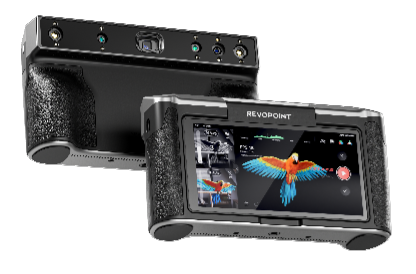
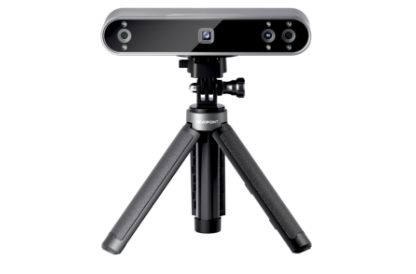
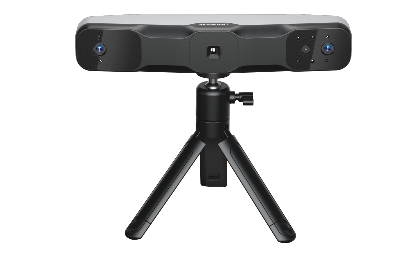
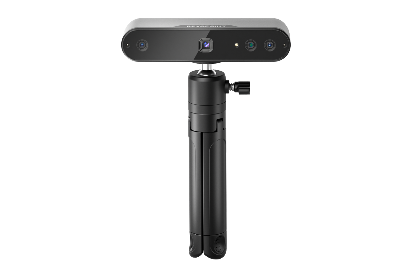
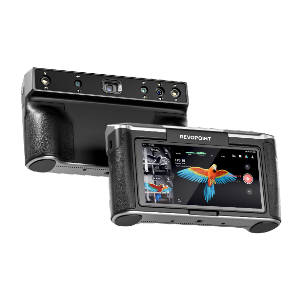
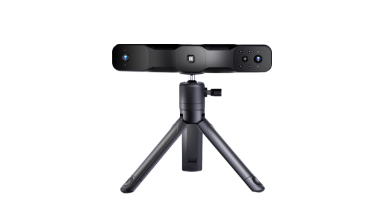
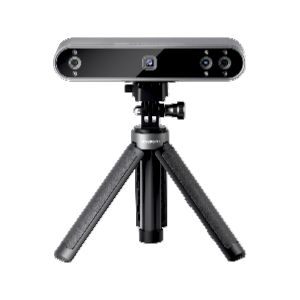
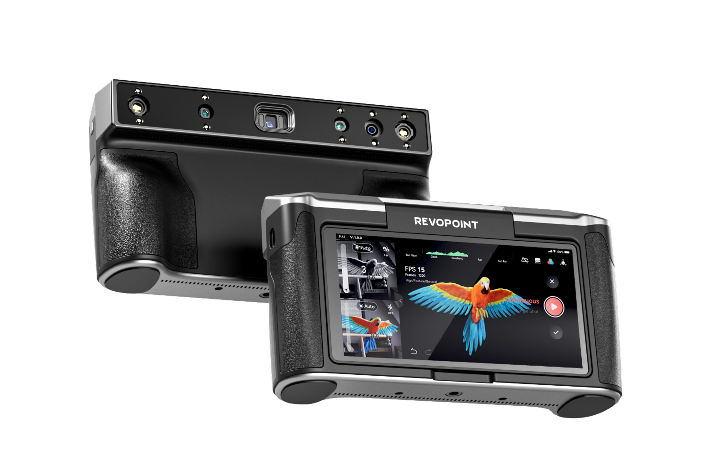
Any Revopoint 3D scanner can scan a shoe, but we recommend POP 3 or RANGE, with POP 3 being the best choice due to its better accuracy and excellent color scanning capabilities. If you have a MINI, you can still scan a shoe, but it’ll be a little bit more difficult due to its narrow field of view.
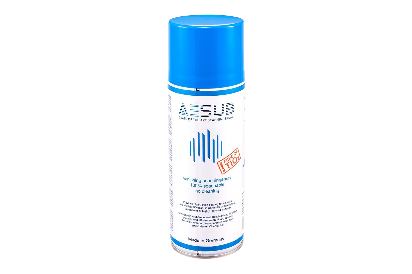
Scanning Spray
3D scanning a shoe can be pretty easy or a little tricky, depending on the shoe’s surface. Let’s deal with that first.
If a shoe has shiny black leather or just a really shiny surface, you’ll need to treat the surface with scanning spray to make it matte, so the scanner can get enough surface data to build the point cloud. Ideally, you’ll want a scanning spray that evaporates quickly by itself, or else you’ll have to clean the shoe after you’ve finished the scan. Check if the scanning spray has any chemicals that’ll react to the shoe’s surface.
If a shoe has no shiny or overly dark surfaces, you won’t need to spray it to capture it.
Device
Any compatible device with 4GM of RAM or more will be fine for capturing a shoe. However, since we recommend using a turntable for this scan, attaching the scanner to a laptop would be better for a faster post-processing workflow.
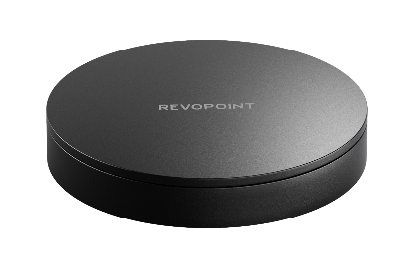
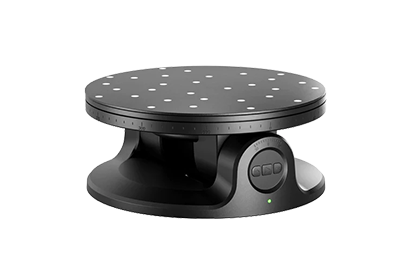
Turntable
You don’t need a turntable to scan a shoe, but it’ll make it much easier if you do. Any turntable will do, so long as it spins smoothly. If you haven’t got a turntable, you’ll need a steady hand for this scan.
Preparation
Ensure the shoe is evenly lit with soft light and treated with scanning spray if required. Place the shoe sole side down on the turntable.
If you don’t have a turntable, ideally place the shoe on something you can easily move around, or you’ll have to pause the scan to adjust the shoe’s position quite a few times.
Scanning
Turntable
Set up your scanner at the optimal distance indicated in Revo Scan and angle it down, looking towards the shoe’s side. Select your preferred accuracy. Either is ok, but if the shoe has a lot of fine details, you’ll want to select High accuracy. Select Feature as the tracking mode and then color or no color.
Start the scan on one side of the shoe, and let the turntable do one full rotation, then pause the scan. Check the scan and see if any parts other than the shoe’s sole need to be captured. Now place the shoe on its side with its toe facing the scanner, be sure of which way the turntable is rotating to ensure you capture the shoe’s sole first and then its tongue and topline.

Handheld
Hold your scanner at the optimal distance indicated in Revo Scan. Select your preferred accuracy. Either is fine, but if the shoe has a lot of fine details, select High accuracy. Select Feature as the tracking mode and then color or no color.
For the scan, hold your scanner starting at the shoe’s laces and gently move the scanner along to the shoe’s toe. When you reach the end, gently angle the scanner down around the shoe’s toe and scan along one side of the shoe. When you reach the end, move around the back of the shoe, scan the other side to close the loop, and then pause the scan.
Put the shoe on its side, and hold the scanner at an angle so it can see part of the shoe’s side and sole, then start the scan again and move the scanner gently down and then across the shoe’s sole to capture it.

And with that, you should know how to 3D scan a shoe. Before you go, why not check out these handy 3D scanning tip articles:
Post-processing Your Mesh in Revo Scan
Using 3D Scanners to Design Wearables
Leave a comment
This site is protected by reCAPTCHA and the Google Privacy Policy and Terms of Service apply.